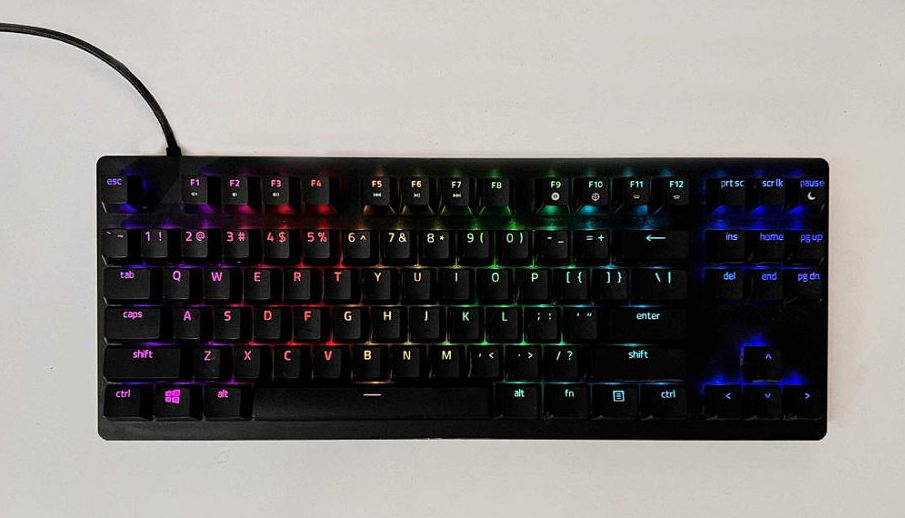
If you own a brand keyboard, you might be wondering about how to change your keyboard color. Well, if your keyboard does support RGB, the process is fairly simple.

How To Change Color On Atrix Keyboard?
Here are a few ways to change the keyboard color on Atrix devices:
1. Using Atrix Control Center:
- -Download and install the latest Atrix Control Center software from the Atrix website.
- -Open the app and select your keyboard model. Go to the Lighting tab.
- -Here you can select solid colors, gradients, morphing effects, patterns, etc.
- -For per-key customization, use the Studio tab to set colors for individual keys.
- -Created presets can be saved to the keyboard’s onboard memory.
2. Using Keyboard Shortcuts:
- -Press the FN + Up/Down arrow keys to increase/decrease brightness.
- -FN + Left/Right arrow keys to cycle through lighting effects.
- -FN + Backspace to toggle between different color zones.
- -FN + Enter key turns lighting on/off.
3. Third-Party Apps:
- -Some visualizer apps like SignalRGB can give more advanced effects.
- -Gaming apps with Atrix integration can sync lighting to in-game events.
- -Lighting can also react to music, videos, etc. with some utilities.
How To Change CyberpowerPC Keyboard Color?
Here are some methods to change the keyboard color on CyberpowerPC devices:
1. Using Control Center:
- – Download CyberpowerPC Control Center software from their website. This enables lighting customization.
- – Open Control Center and go to the ‘Keyboard’ tab. Select your keyboard model.
- – Here you can choose solid colors, gradients, wave effects, responsive lighting, etc.
- – The ‘Studio’ section allows setting different colors for individual keys.
- – Created profiles can be saved directly to the keyboard memory.
2. Using Keyboard Shortcuts:
- – Press the FN + Up/Down arrow keys to cycle through brightness levels.
- – FN + Left/Right arrows will change the current lighting effect.
- – FN + Backspace key toggles between color zones.
- – FN + ‘/’ key turns lighting on/off.
3. Using Third-Party Apps:
- – Some visualizer apps may work to create reactive lighting tied to music, screen, etc.
- – There are gaming apps that can sync lighting to in-game events.
- – RGB control apps like SignalRGB can allow enhanced customization.
How To Change Alienware Keyboard Color?
Here are a few methods to change the keyboard color on Alienware devices:
1. Using Alienware Command Center:
- -Download and install the latest Alienware Command Center software from Dell’s website. This allows full control over keyboard lighting.
- -Open the app and select the ‘FX’ tab. Choose your keyboard on the left sidebar.
- -Here you can select solid colors, gradients, morphing effects, and wave patterns and create custom themes.
- -For advanced control, use the ‘Studio’ section to customize each key’s color individually.
- -Any lighting profiles created can be saved to the onboard memory for persistent effects.
2. Keyboard Shortcuts:
- -Press FN + F12 to cycle through preset color zones.
- -FN + arrow keys will change colors when on a static effect.
- -FN + F11 toggles between available lighting effect modes.
3. Alienware Control Center:
- -Older Alienware models use this legacy software. The usage is similar to Alienware Command Center.
- -Go to the ‘TactX’ section to customize keyboard color and effects.
4. Third-Party Apps:
- -Apps like AlienFX can allow more fine-grained control over lighting zones.
- -Some games have Alienware integration to sync lighting with gameplay.
- -Visualizer apps may also work to create reactive keyboard effects.
How To Change Color On Razer Keyboard?
To change the color of a Razer keyboard, you can use Razer Synapse, the software provided by Razer for customization. Here’s how to do it:
- -Install Razer Synapse: Visit the Razer website and download the latest version of Razer Synapse compatible with your keyboard.
- -Launch Razer Synapse: Open the software after installation and create/log in to your Razer account.
- -Detect your keyboard: Razer Synapse should automatically detect your connected Razer keyboard. If not, click on “Devices” and then click the “+” button to add your keyboard manually.
- -Select the lighting options: Once your keyboard is detected, click on the “Lighting” tab or choose the “Chroma” option from the top menu. Here, you’ll see various lighting options available for customization.
- -Choose a color preset or create your own: Razer Synapse provides different color presets or effects that you can choose from. Click on the option you prefer or select “Customize” to create your own color scheme.
- -Customize colors: If you choose to customize your lighting, you can change the color of individual keys or groups of keys. Razer Synapse offers a color palette or RGB sliders to select your desired color.
- -Apply and save: After customizing the colors to your liking, click on “Apply” to see the changes on your keyboard. If you want to save your settings and make them the default every time your computer starts, click on the “Save” button.